Sunday 31 January 2016

Printrun issues with USB connection and OS X

I spent quite some time trying to get Printrun to connect my RAMPS board. The fix was to set the baud rate lower with #define BAUDRATE 115200 both in Marlin Configuration.h and in Pronterface user interface.

The screenshot below shows necessary details:


But the while I was testing some models there were long pauses in the print. Those were long enough to clog the hot end as the heating was on but no filament was pushed through. After couple attempts I started to use SD-card reader on the LCD display unit.


First print!

After doing some ugly hacks with zip ties and hot glue I got end stops in place and the printer was ready for its first print. At that point there were plenty of issues waiting to be fixed but I wanted to see if anything usable would come out.

First proper print

Leveling the bed was pretty difficult as I didn't have enough clamps to secure the glass on the PCB. I ended up using some painters tape to hold it for a moment. But that is pretty bad idea. Also, finding the Z level for the first layer took quite a while.

After couple days I managed to find clamps for the glass so I could do the levelling properly. With this essential fix in place I started to print more parts for the printer including a box for LCD, RAMPS fan support,  finger guard for the 80mm fan and some smaller bits.


Wednesday 27 January 2016

Wiring done

Wiring was pretty easy to get done but it looks pretty messy. I have to wrap wires somehow together and think some clever routings. It is important to make sure cables have enough length for the whole movement of the axis. I almost snapped the end stop of from X-axis because I didn't remember it moving higher as the Z increases.

While I was testing the cabling I could not get extruder stepper working. I thought I had burnt driver but in the end it was the 'cold extrusion prevention' feature of the firmware. Simple fix this time. Also, some of the axis were moving to wrong direction but I fixed that in the firmware configuration.

Sunday 24 January 2016

Heatbed thermistor

I was planning to get a silicone pad heater and machined aluminium plate but I could not find a nice plate with decent price. So I had to go with a traditional PCB with glass plate. I ordered PCB Heatbed MK2B and a bunch of NTC 3950 thermistors. I will use the rest of the thermistors with my environment control unit.

The power wires were easy to solder but I might have bought a bit too heavy wire for it. I use 4 sq mm wire between RAMPS and heatbed. That is pretty much the thickest fitting in the RAMPS screw terminals but it isn't very flexible and might cause me headaches when I try to clean up the wiring mess.

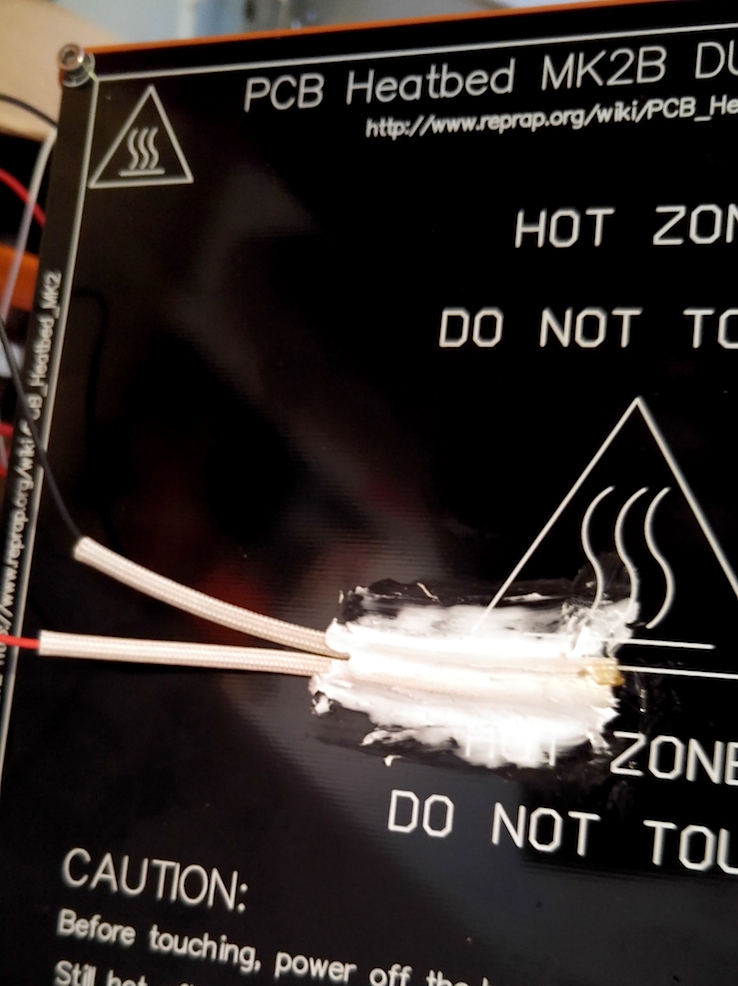
Most of the instructions use Kapton tape to attach thermistor to the heatbed. Unfortunately, I have none here so I had to improvise. I soldered the thermistor to a longer wire with heatshrink and thermal protective sleeve. Then I placed the thermistor in the PCB with some heat resistant grease as I did not have any thermal paste either. I secured the wire in place with some masking tape and then I added good amount of bathroom silicone on the wires. According to the label the silicone is good till +180 C degrees.


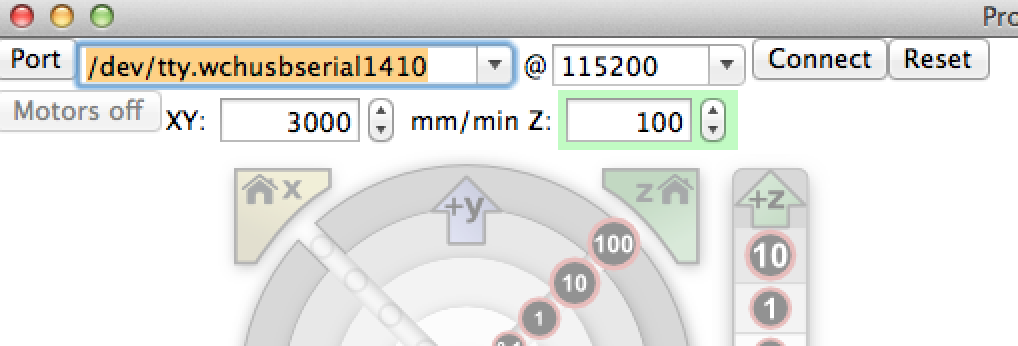
Not very pretty but seems to hold pretty well. I hooked up the wires to RAMPS and heated the bed up to 95 C degrees and everything worked ok. In any case this part is hidden so the appearance does not really matter.

Saturday 23 January 2016

XYZ complete

The second batch of LM8UU bearings arrived and I was finally able to assemble both X and Z axises. Y axis was completed earlier. The second set of 12 LM8UU bearings was not much better but I was able to find enough bearings with suitable tolerances.

X axis ends and carriage were some 3D printed parts I got from a friend. I also had another set but this one seemed to fit better. In any case I am planning to replace those and X belt bearing with better ones as soon I get the printer productive.